Wairarapa |

|
|
|
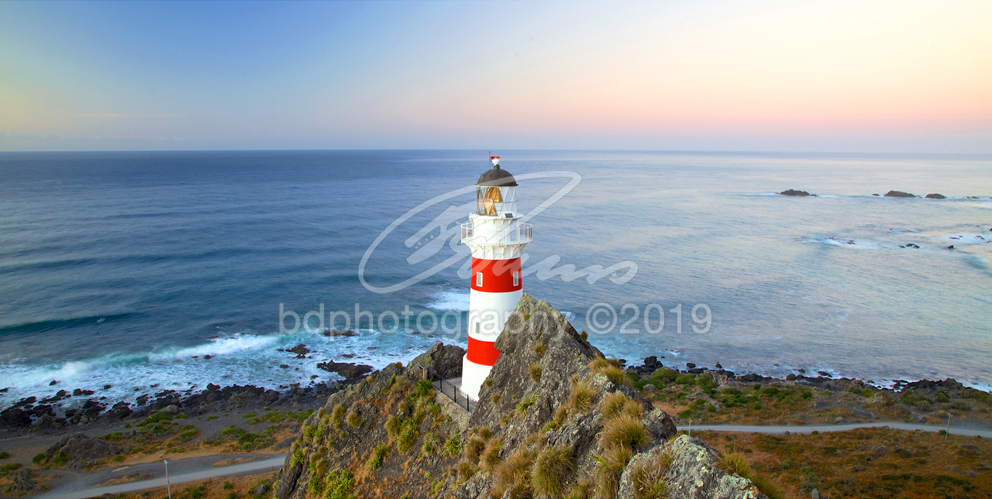
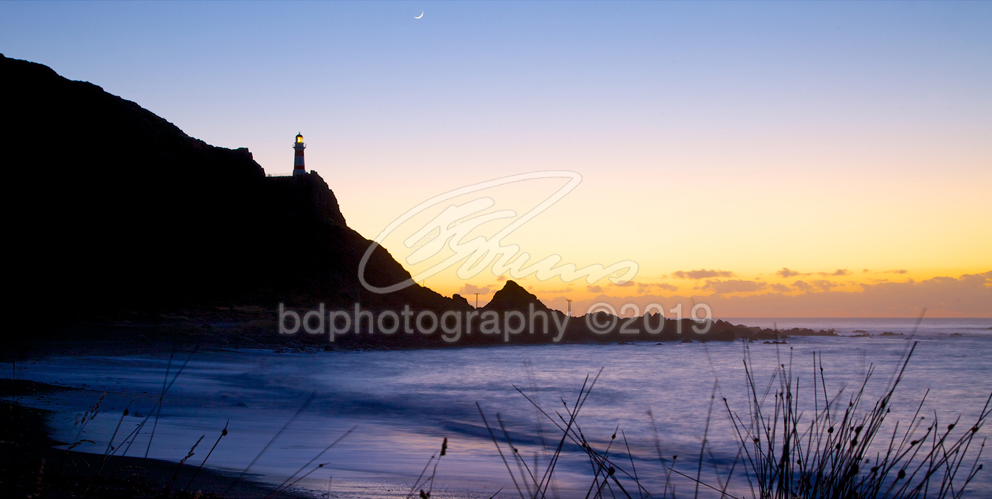
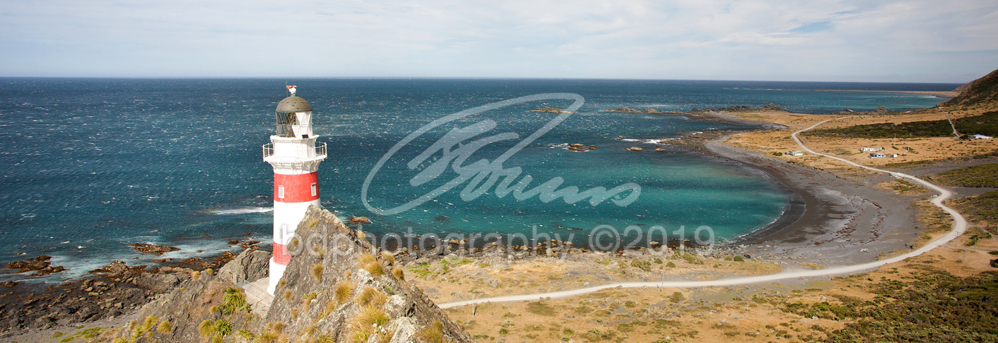
Cape Palliser Lighthouse WAI36 - 2:1 ratio
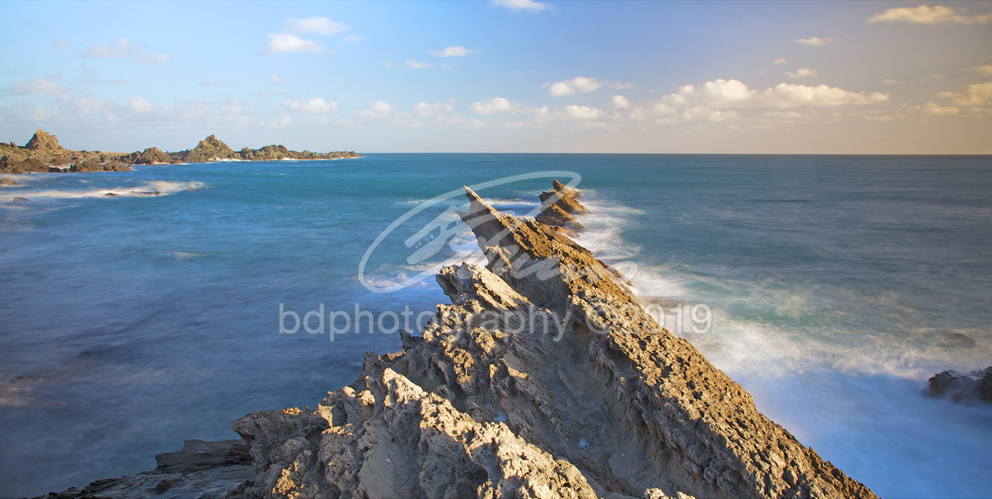
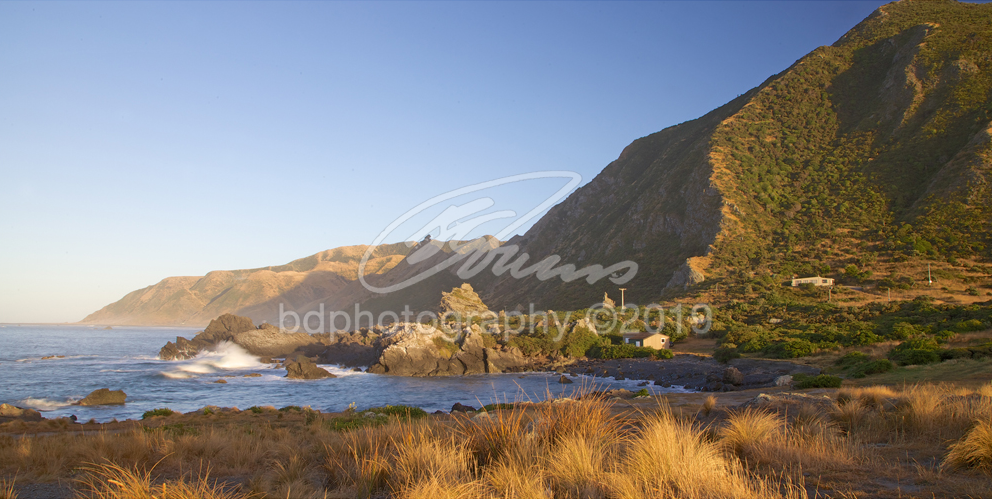
Cape Palliser WAI8 - 2:1 ratio
|
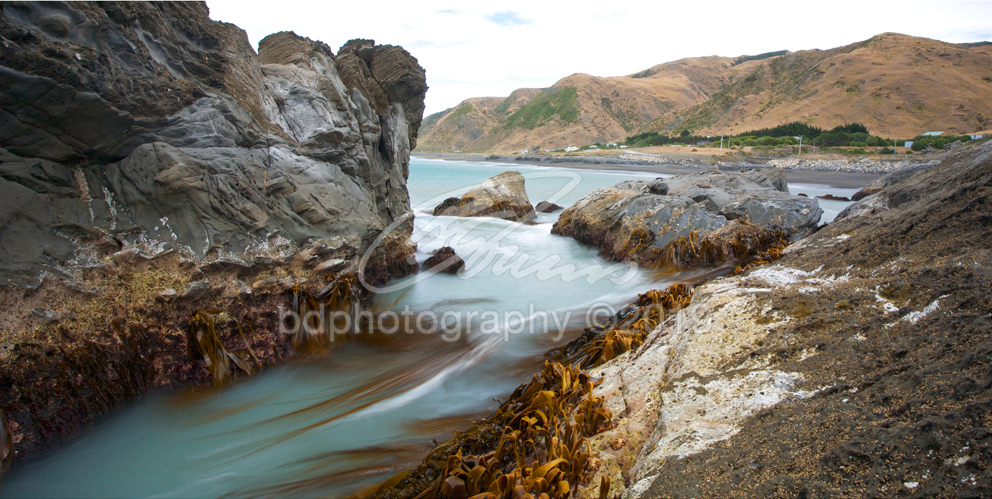
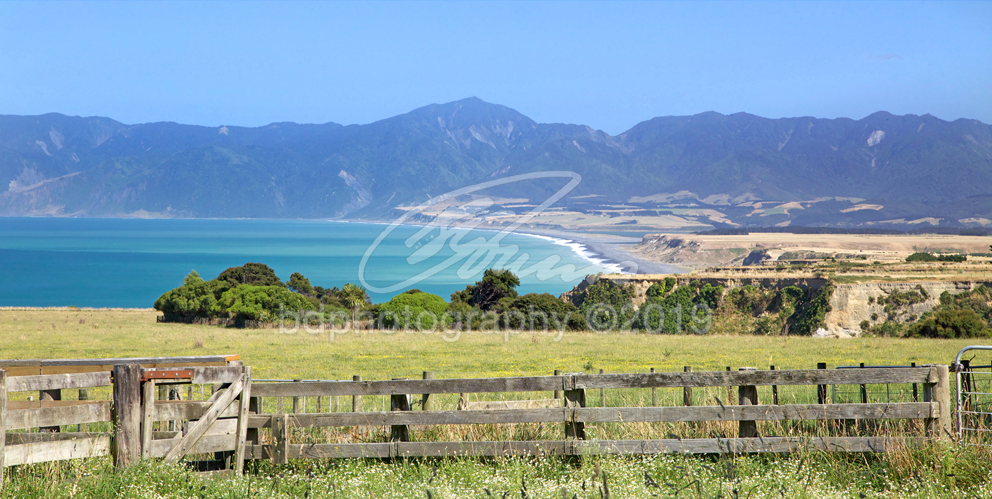
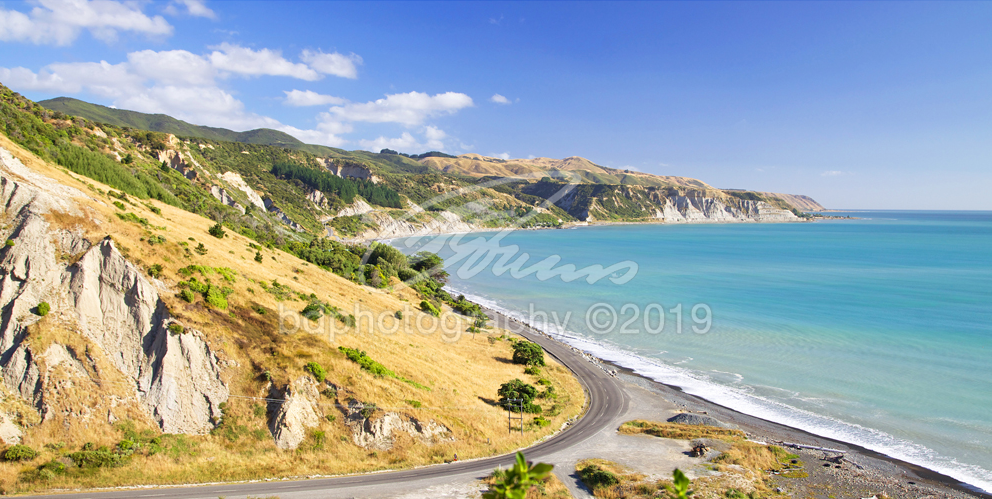
Cape Palliser Coast WAI44 - 2:1 ratio
|
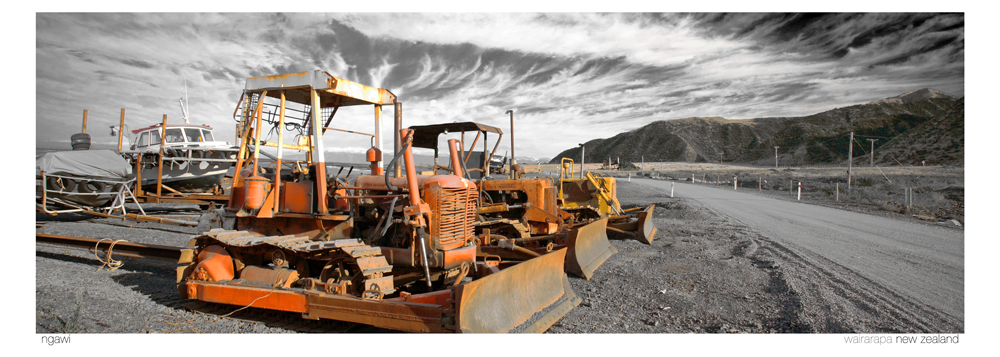
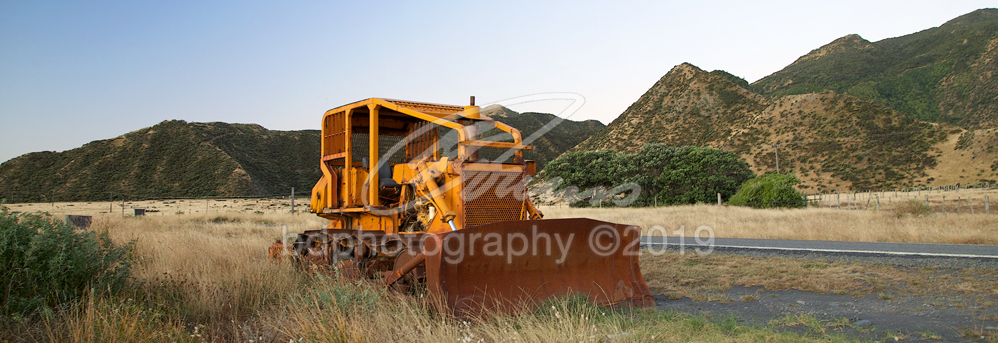
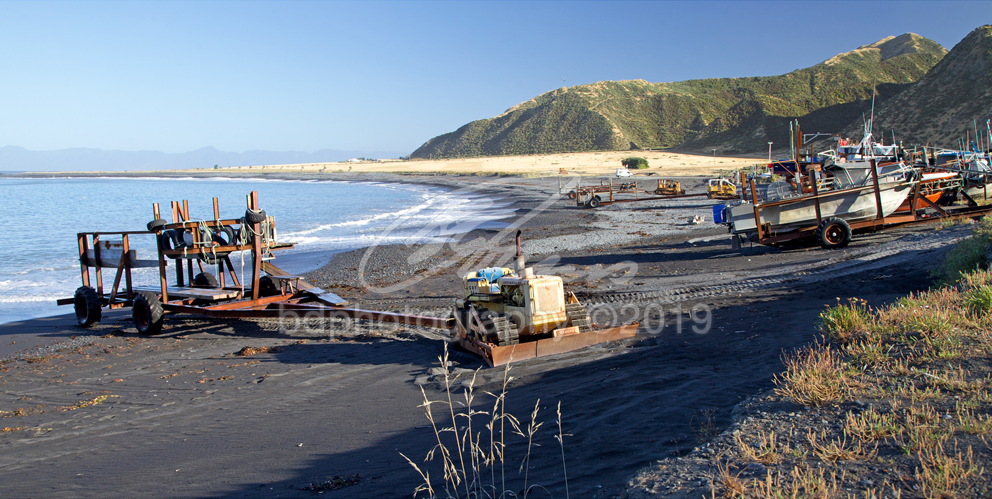
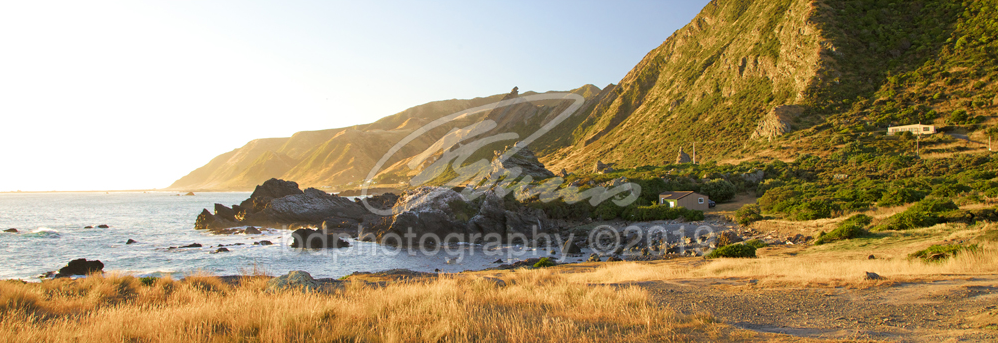
Ngawi WAI21P - 3:1 ratio
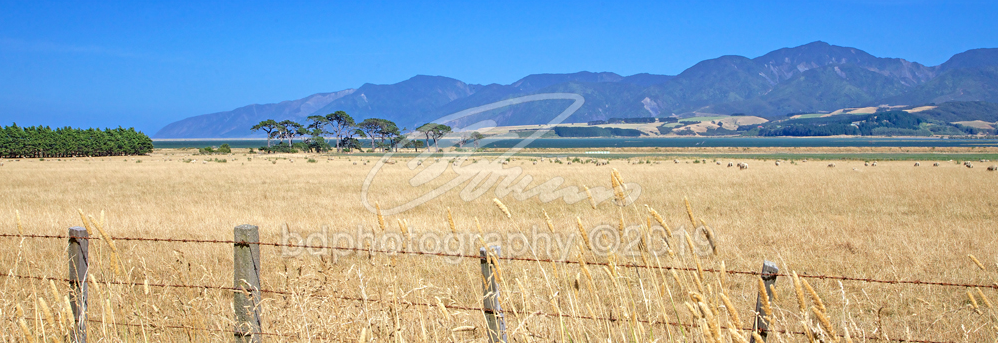
Palliser Bay WAI50 - 2:1 ratio
|
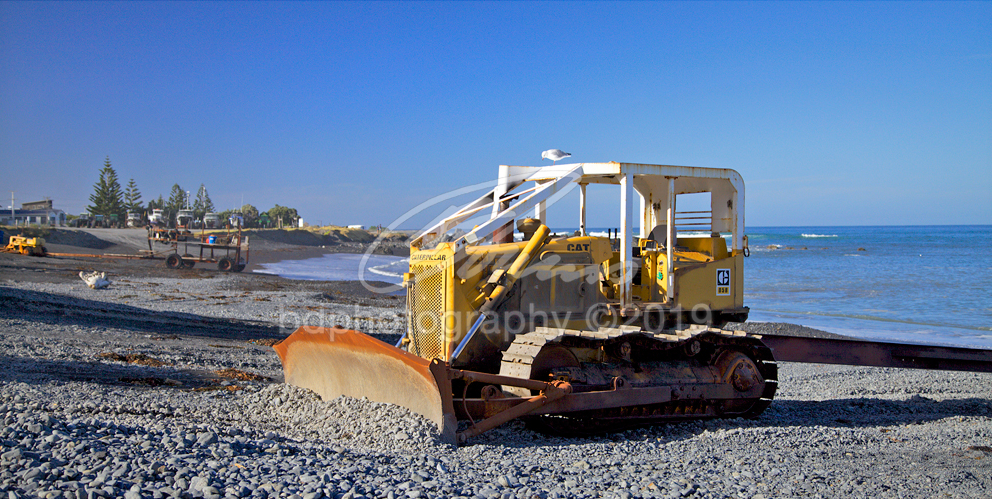
Ngawi WAI40 - 2:1 ratio
|
Palliser Bay WAI37 - 2:1 ratio
Ngawi WAI55P - 3:1 ratio
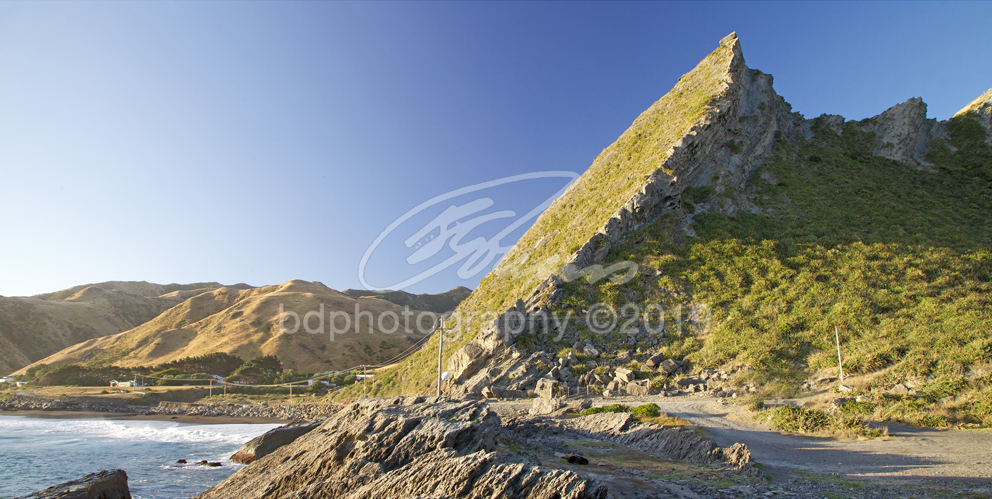
Cape Palliser WAI7P - 3:1 ratio
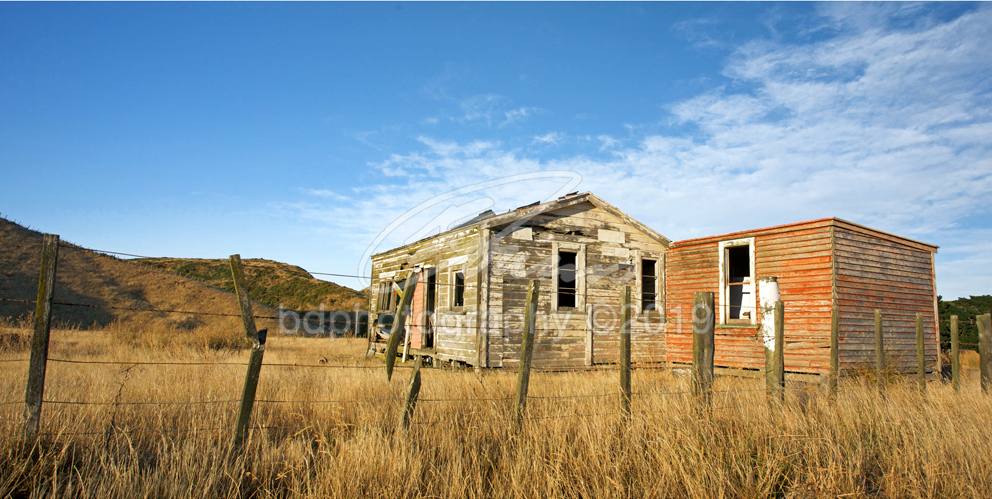
Rural Shed WAI9 - 2:1 ratio
|
Ngawi WAI41 - 2:1 ratio
|
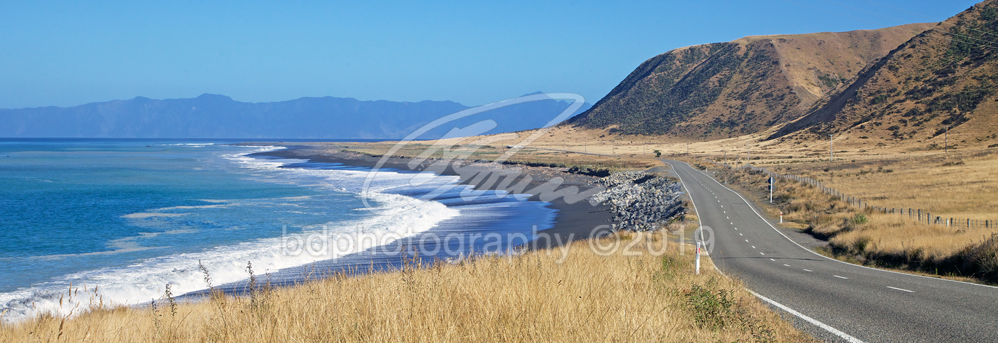
Road to Ngawi WAI57P - 3:1 ratio
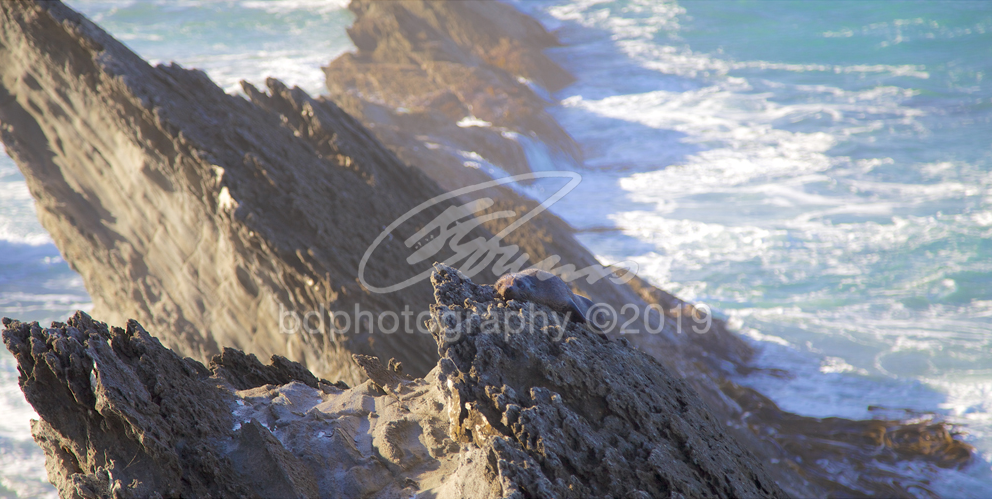
Seal Pup WAI51 - 2:1 ratio
Mangatoetoe WAI48 - 2:1 ratio
|
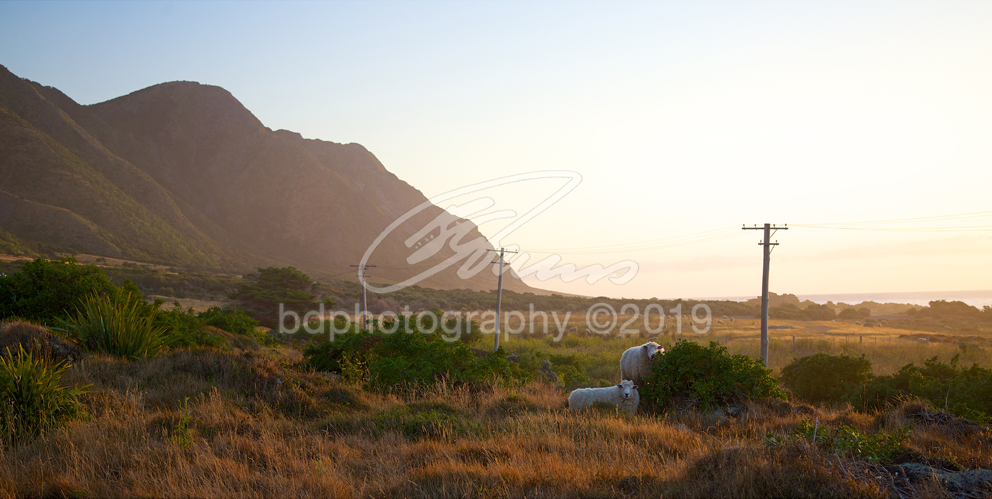
Grazing At Cape Palliser WAI47 - 2:1 ratio
|
Lake Ferry WAI53P - 3:1 ratio
Matakitaki a Kupe Reserve WAI49 - 2:1 ratio
|
Lake Ferry WAI52P - 3:1 ratio
|
Matakitaki a Kupe Reserve WAI54P - 3:1 ratio
|
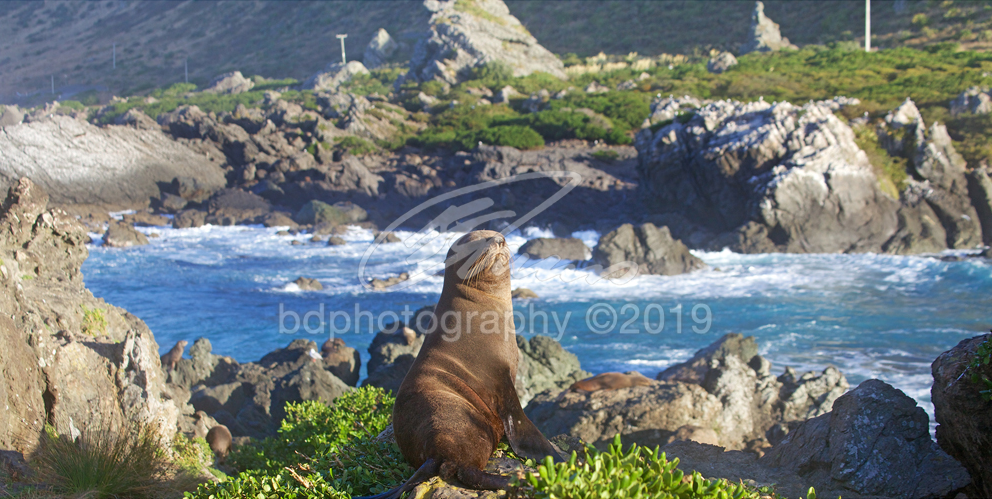
Fur Seal WAI46 - 2:1 ratio
|
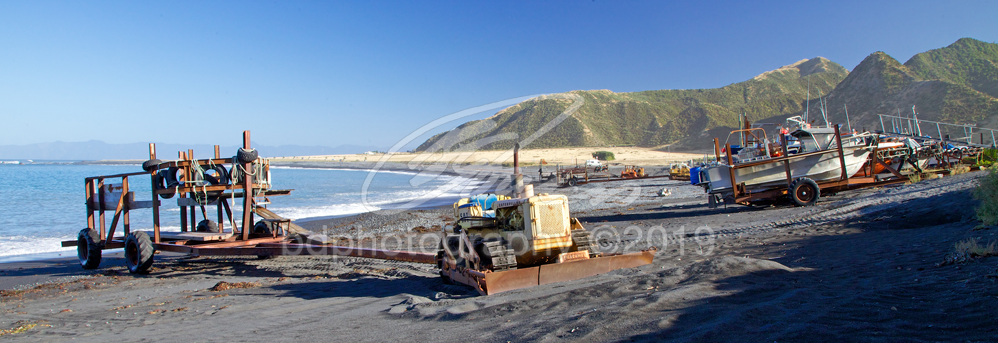
Ngawi WAI56P - 3:1 ratio
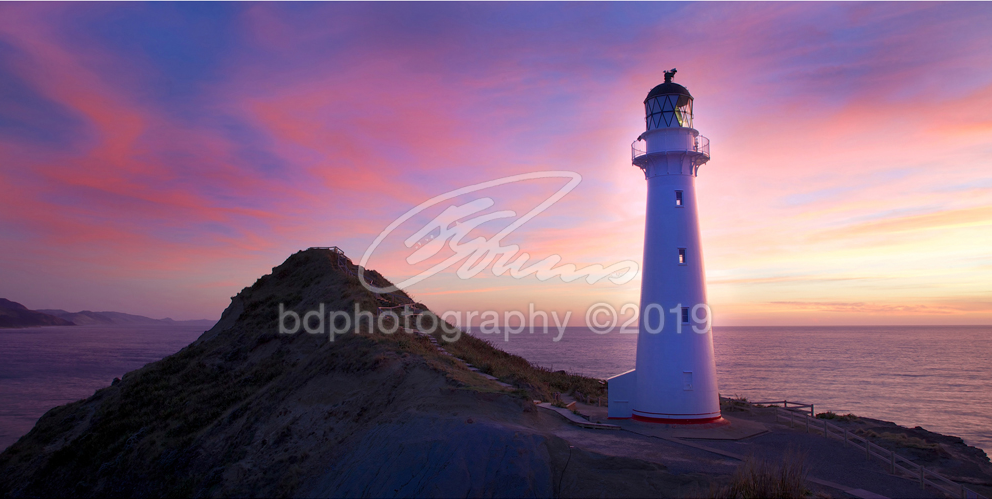
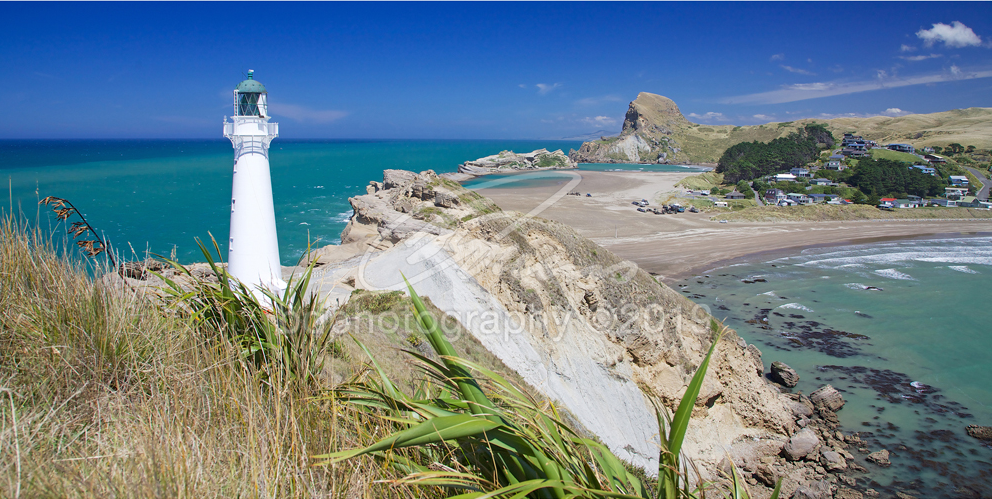
Castlepoint Lighthouse WAI30 - 2:1 ratio
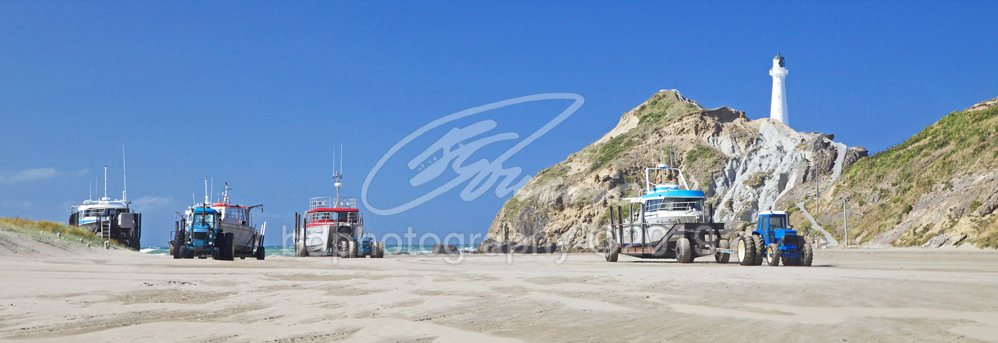
Castlepoint Fishing Fleet WAI31P - 3:1 ratio
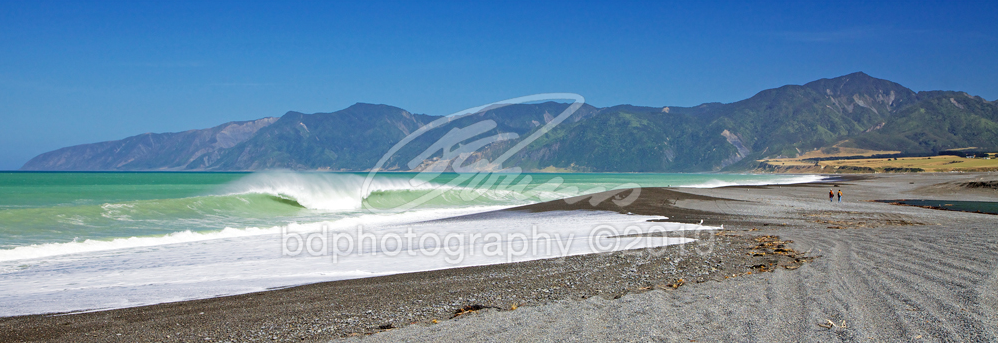
Castlepoint WAI33 - 2:1 ratio
|
Castlepoint WAI28 - 2:1 ratio
|

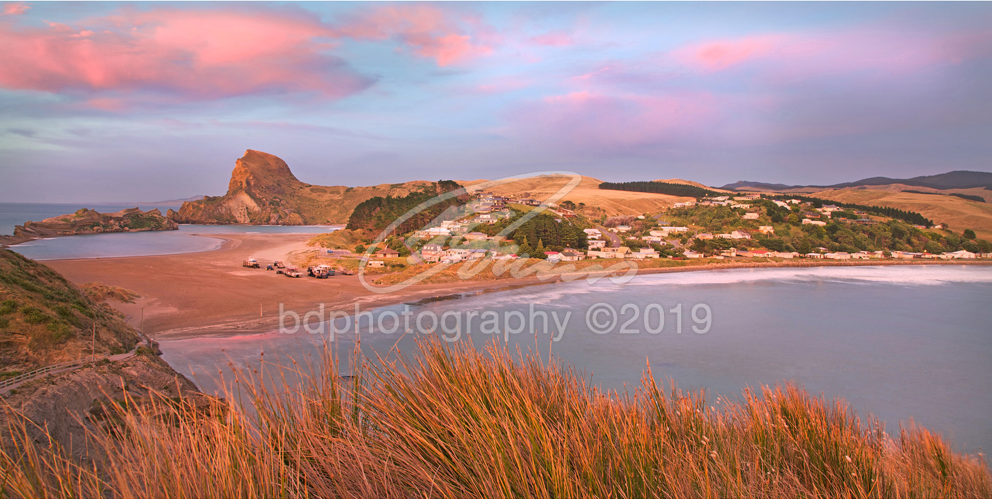
Castlepoint Sunrise WAI27P - 3:1 ratio

Castlepoint WAI28 - 2:1 ratio
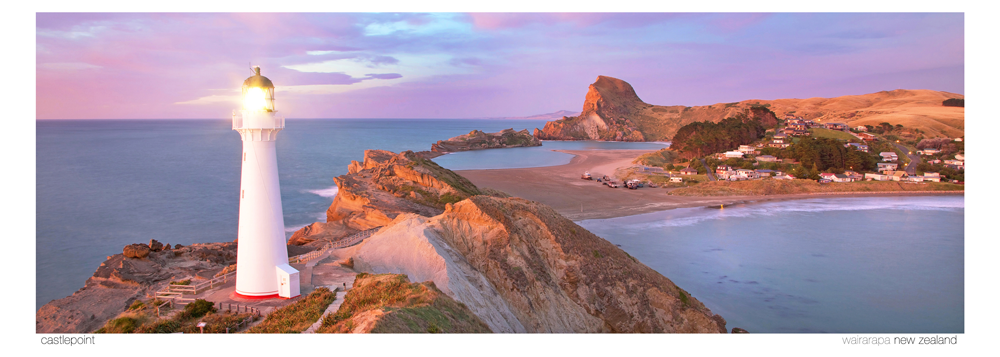
Castlepoint WAI26P - 3:1 ratio

Deliverance Cove WAI32P - 3:1 ratio
|
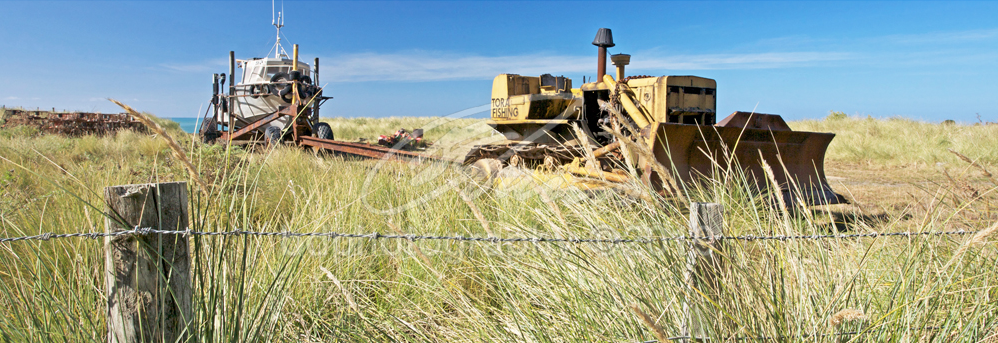
Tora Fishing WAI22P - 3:1 ratio
|
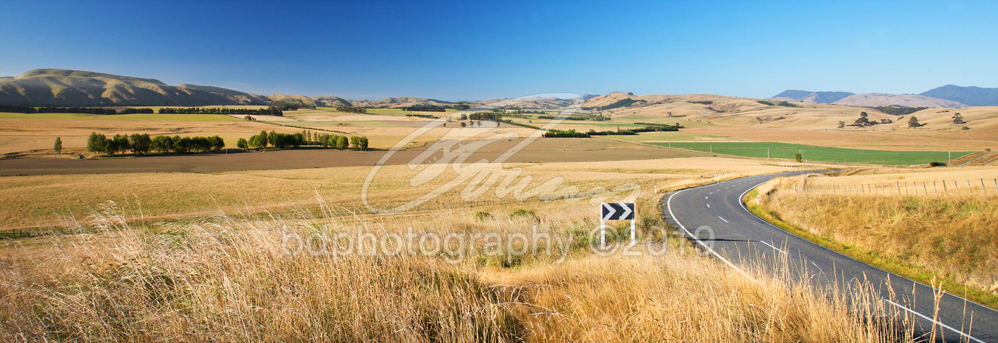
White Rock Road WAI20P - 3:1 ratio
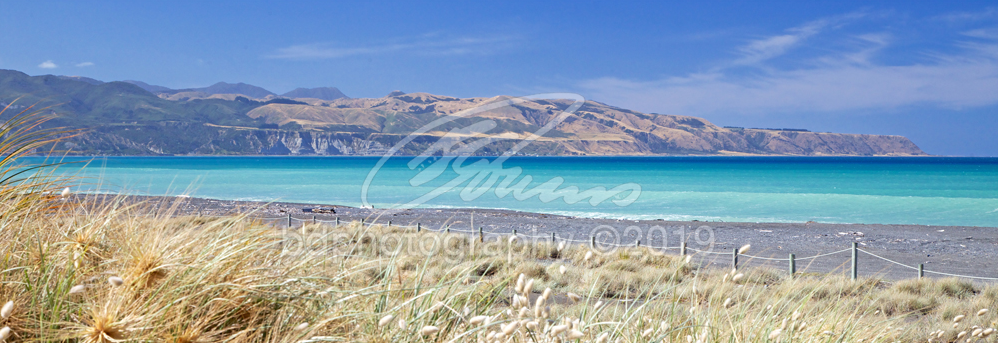
Whangaimoana WAI58P - 3:1 ratio
|
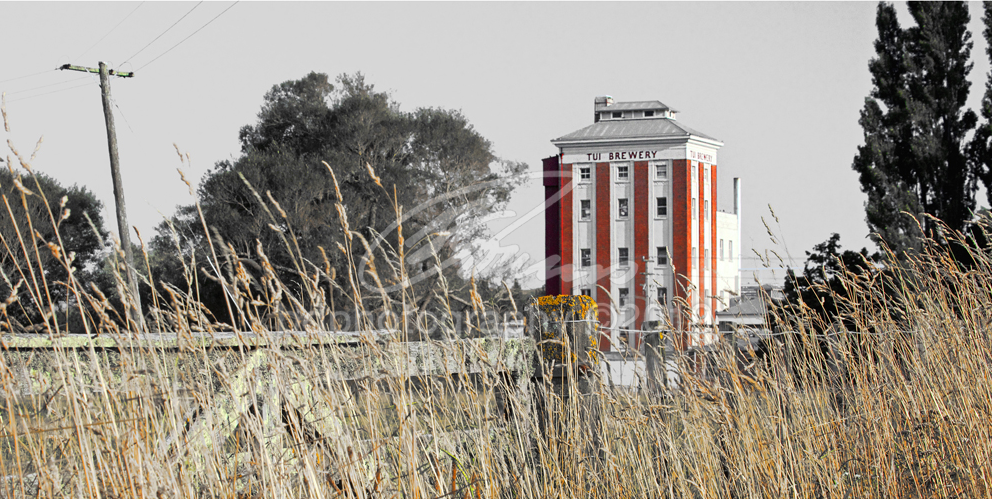
Tui Brewery WAI25 - 2:1 ratio
|