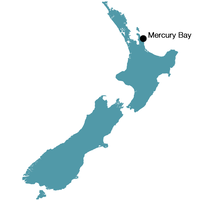
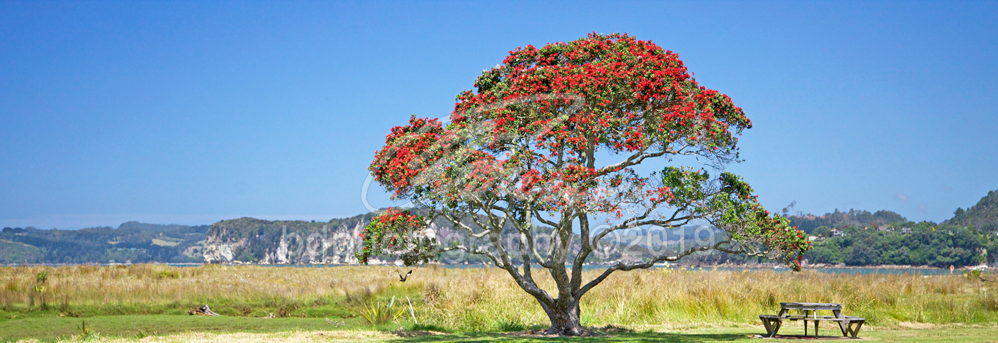
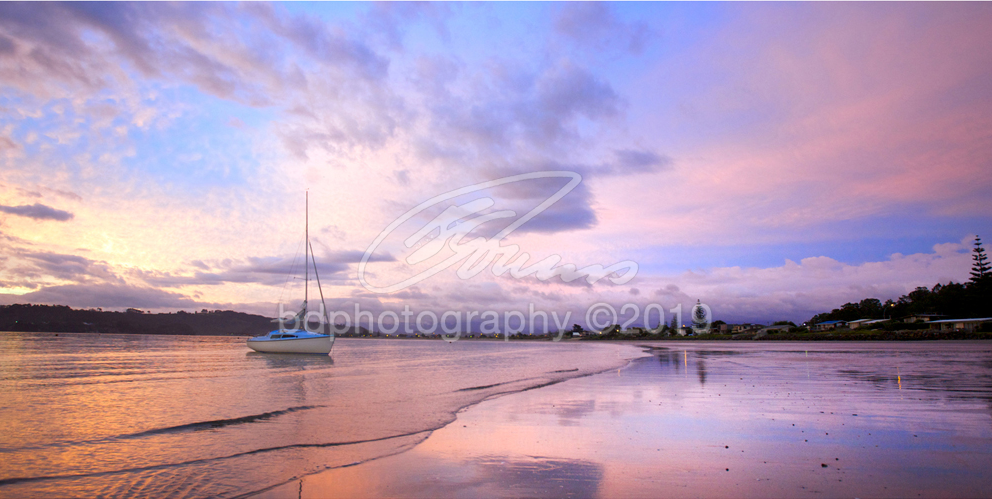
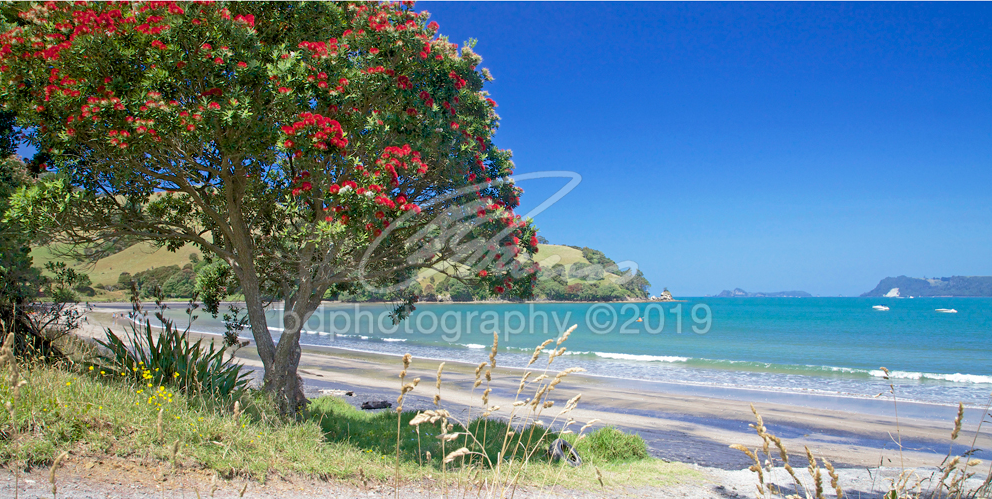
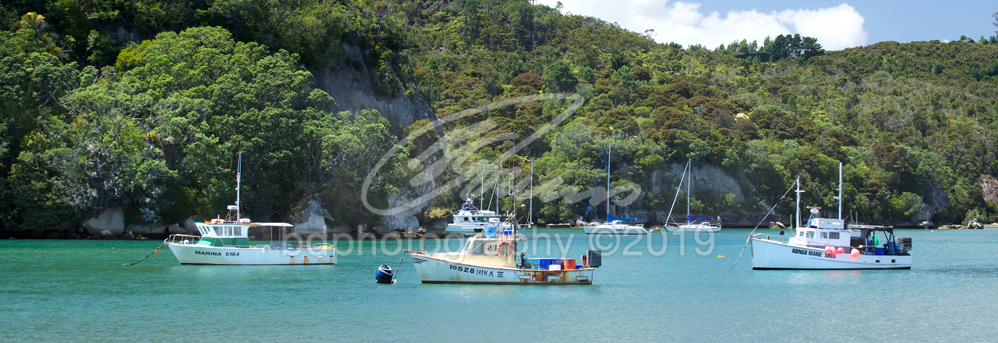
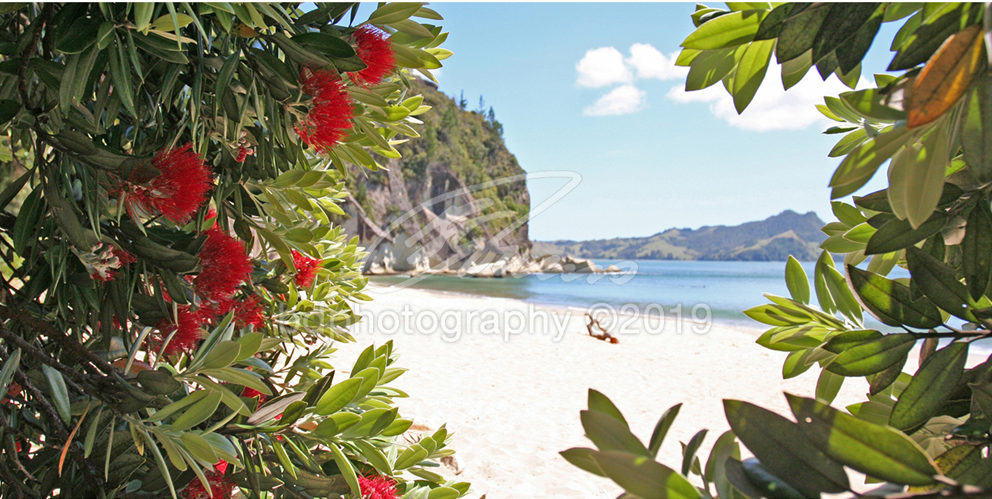
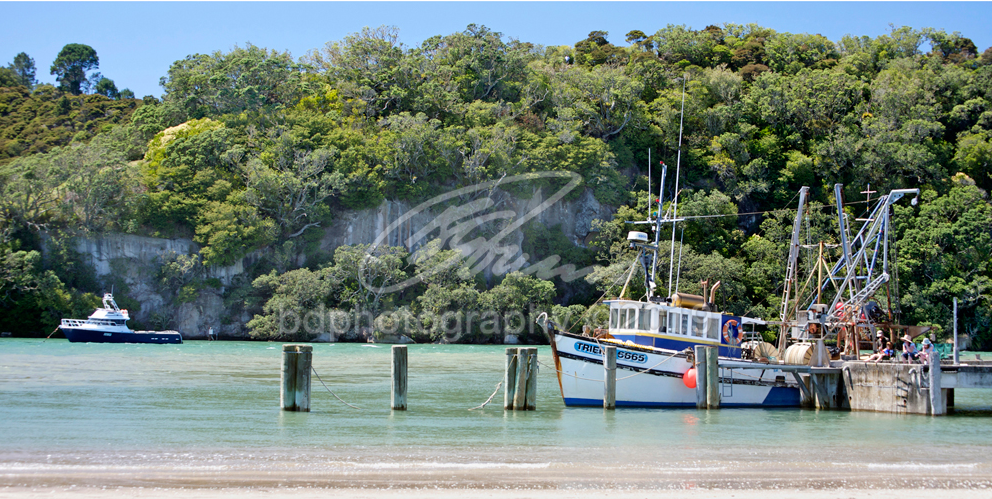
Mercury Bay |

|
|
|
Mercury Bay COR184 - 2:1 ratio
Cooks Beach COR302 - 2:1 ratio
Cooks Beach COR300P - 3:1 ratio
|
Cooks Beach COR332P - 3:1 ratio
|
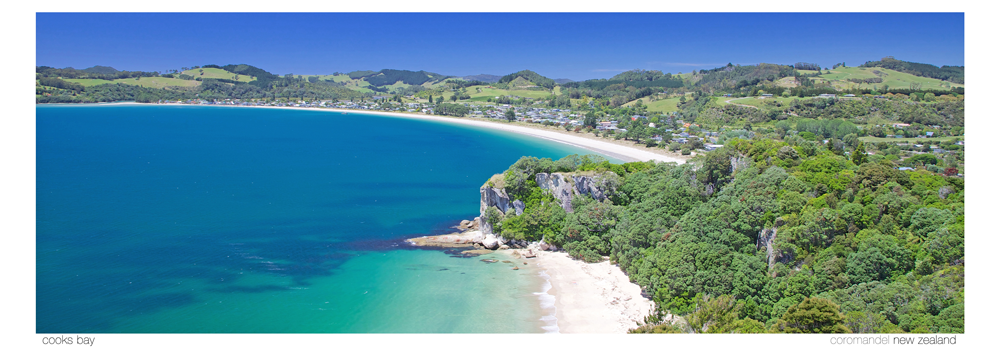
Cooks Bay COR317P - 3:1 ratio

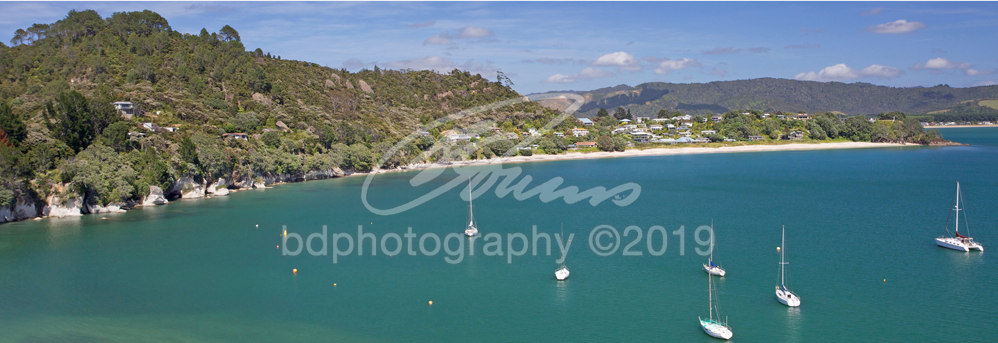
Simpsons Beach / Wharekaho COR327P - 3:1 ratio
|
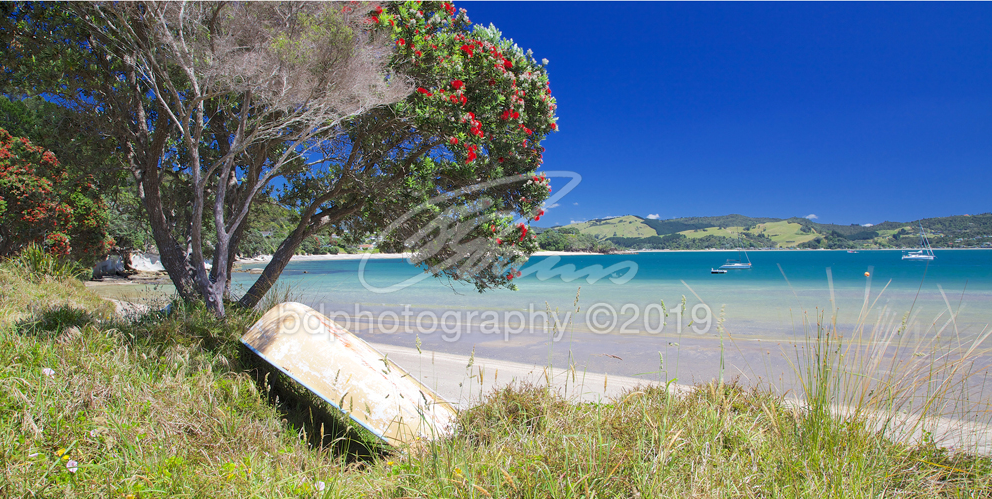
Simpsons Beach / Wharekaho COR195 - 2:1 ratio
|
Flaxmill Bay COR400P - 3:1 ratio
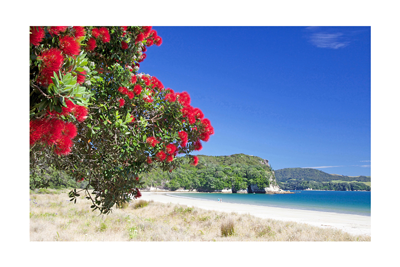
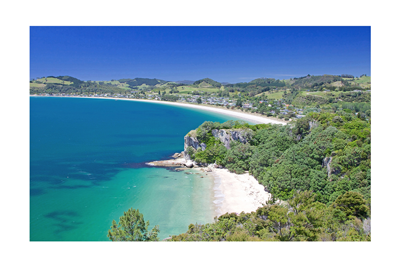
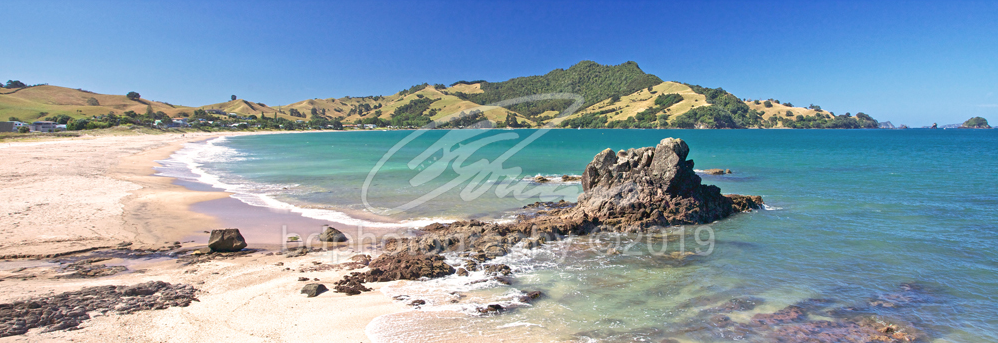
Flaxmill Bay COR229 - 2:1 ratio
|
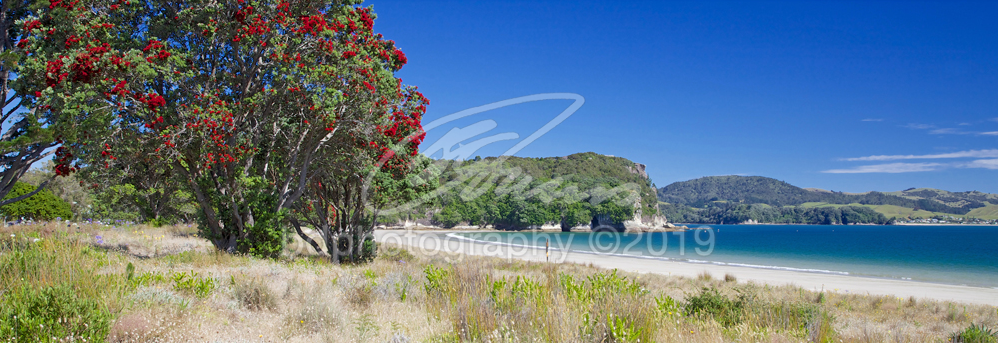
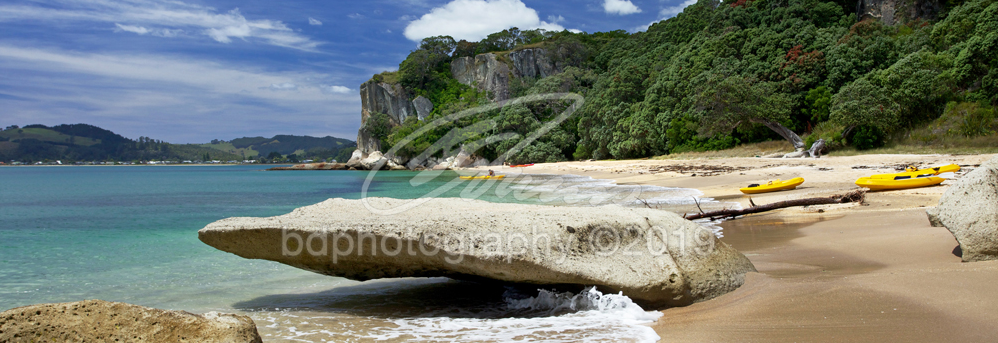
Flaxmill Bay COR309P - 3:1 ratio
|
Flaxmill Bay COR259P - 3:1 ratio
Whitianga COR334P - 3:1 ratio
Whitianga COR207 - 2:1 ratio
|
Simpsons Beach / Wharekaho COR330 - 2:1 ratio
|
Whitianga Harbour COR262P - 3:1 ratio
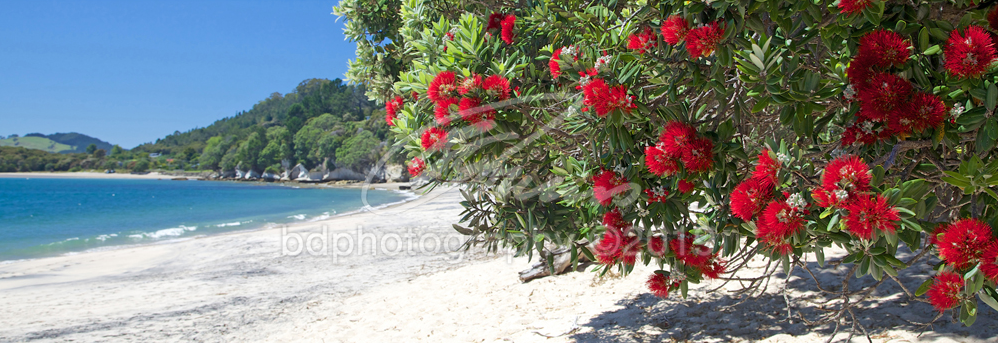
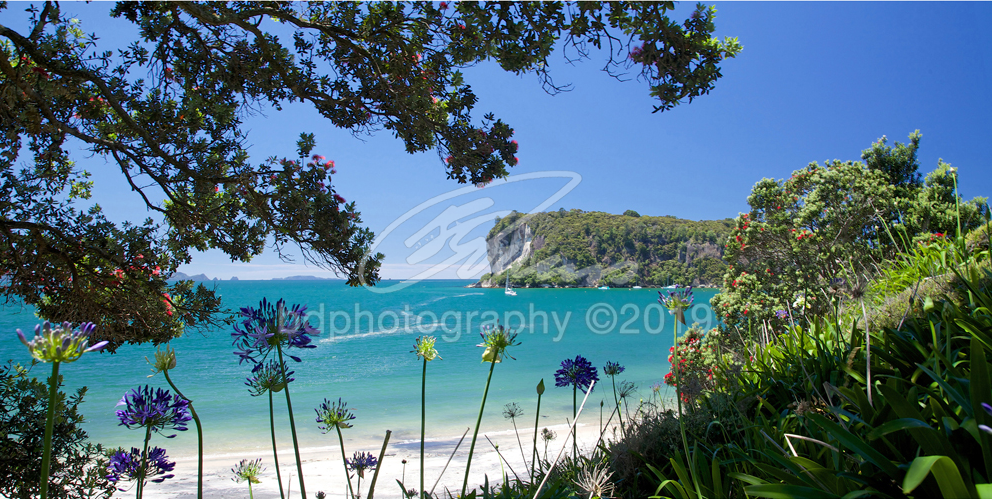
Lonely Bay COR26 - 2:1 ratio
|
Flaxmill Bay COR299 - 2:1 ratio
|
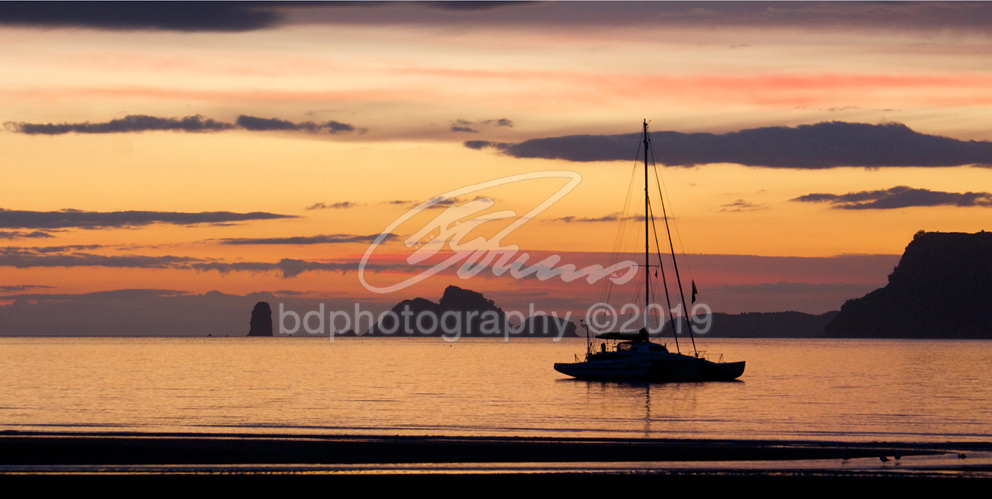
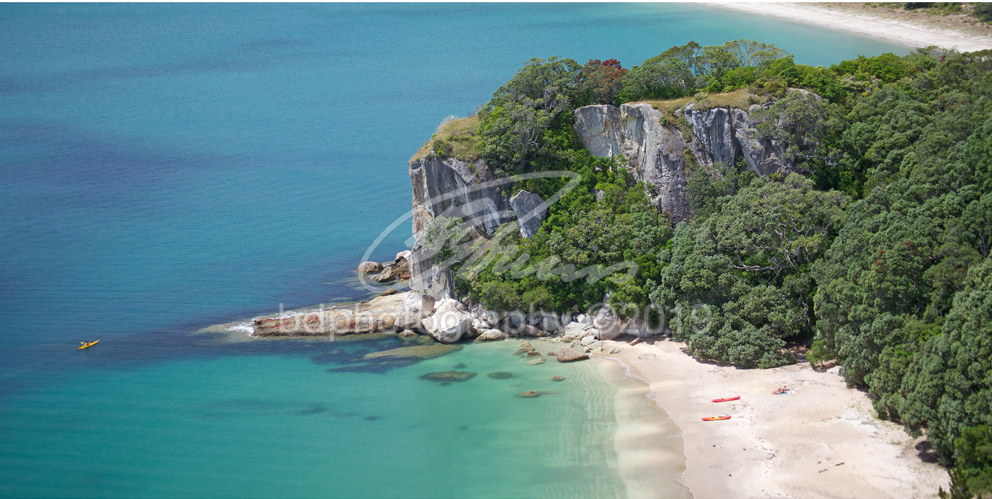
Mercury Bay COR265P - 3:1 ratio
Cooks Bay COR312 - 2:1 ratio
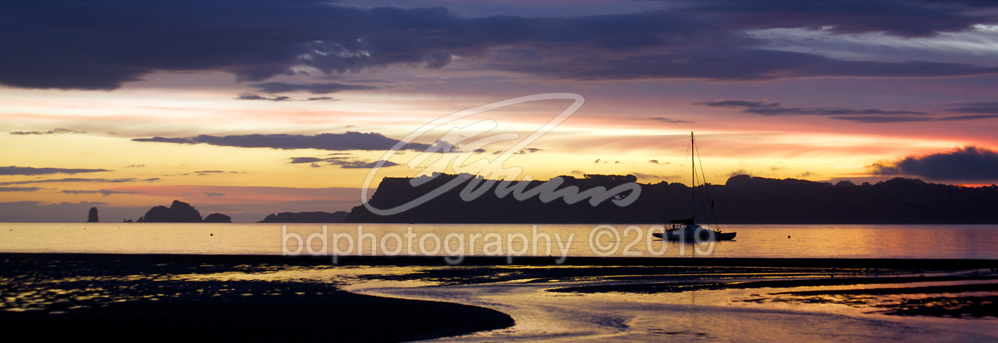
Lonely Bay COR256P - 3:1 ratio
Lonely Bay COR233 - 2:1 ratio
|
Flaxmill Bay COR327 - 2:1 ratio
|
Whitianga COR322 - 2:1 ratio
Simpsons Beach / Wharekaho COR254P - 3:1 ratio
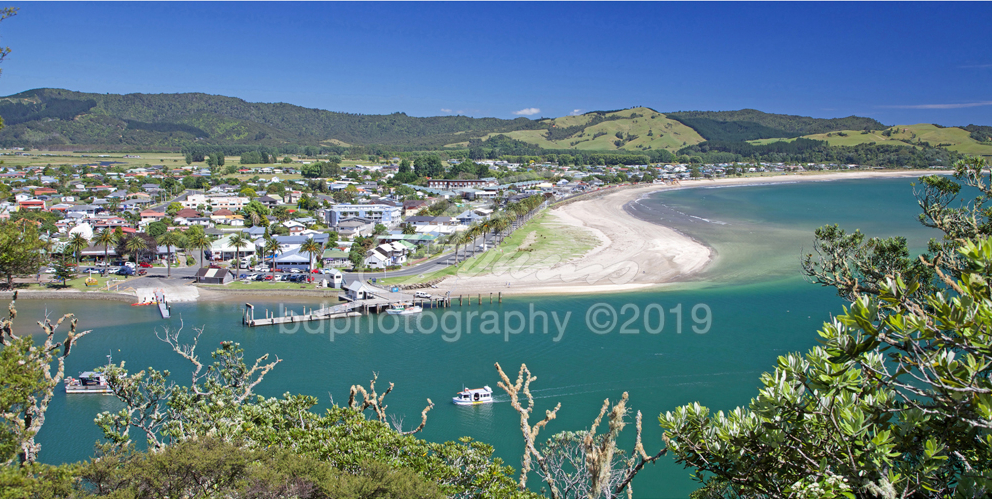
Whitianga Wharf COR224 - 2:1 ratio